Edge Labels
One of the more common uses for custom edges is rendering some controls or info along an edge’s path. In React Flow we call that a custom edge label and unlike the edge path, edge labels can be any React component!
Adding an edge label
To render a custom edge label we must wrap it in the
<EdgeLabelRenderer /> component.
This allows us to render the labels outside of the SVG world where the edges life.
The edge label renderer is a portal to a single container that all edge labels are rendered into.
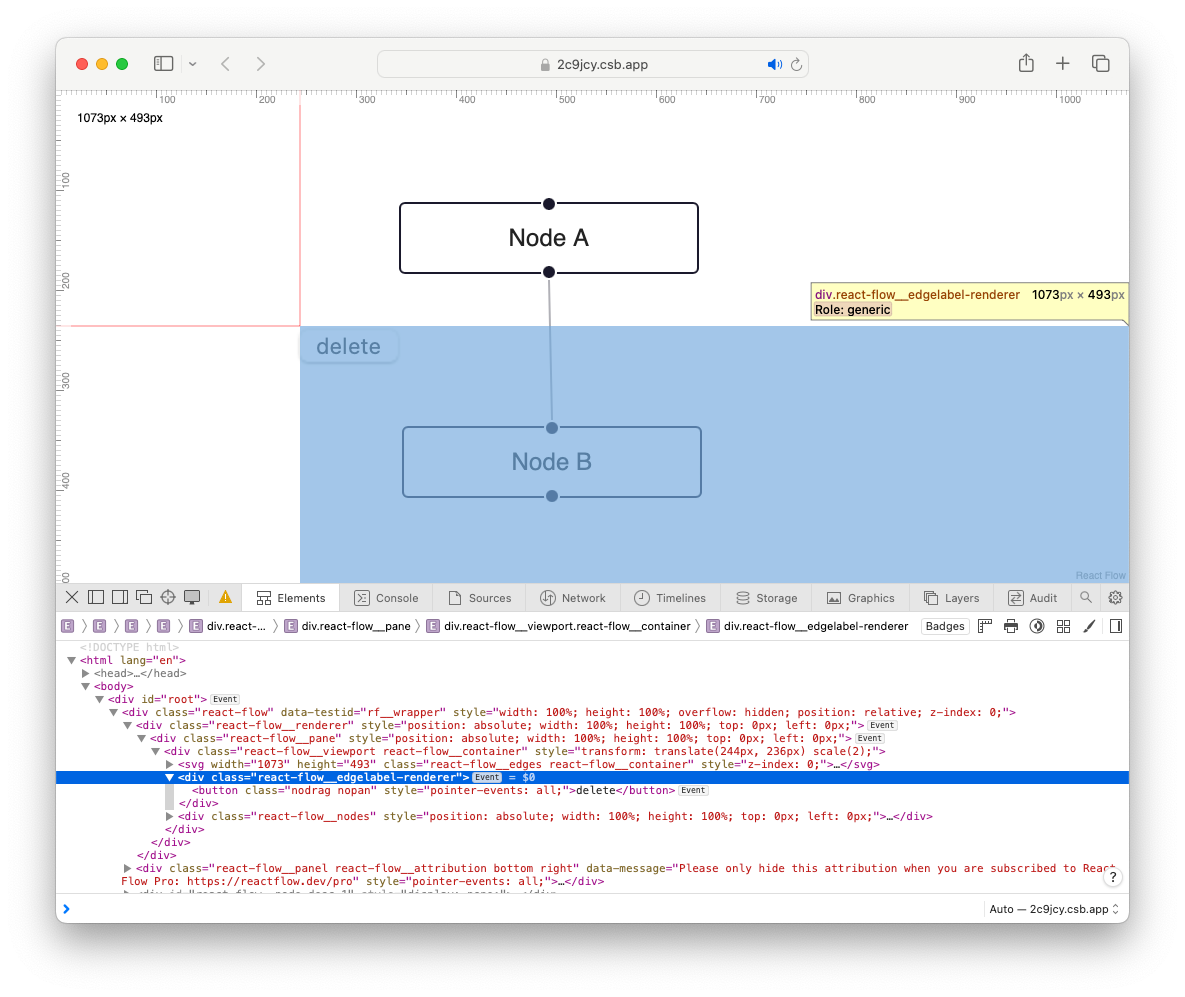
Let’s add a button to our custom edge that can be used to delete the edge it’s attached to:
import {
  BaseEdge,
  EdgeLabelRenderer,
  getStraightPath,
  useReactFlow,
} from '@xyflow/react';

export default function CustomEdge({ id, sourceX, sourceY, targetX, targetY }) {
  const { deleteElements } = useReactFlow();
  const [edgePath] = getStraightPath({
    sourceX,
    sourceY,
    targetX,
    targetY,
  });

  return (
    <>
      <BaseEdge id={id} path={edgePath} />
      <EdgeLabelRenderer>
        <button onClick={() => deleteElements({ edges: [{ id }] })}>delete</button>
      </EdgeLabelRenderer>
    </>
  );
}
If we try to use this edge now, we’ll see that the button is rendered in the centre of the flow (it might be hidden behind “Node A”). Because of the edge label portal, we’ll need to do some extra work to position the button ourselves.
Fortunately, the path utils we’ve already seen can help us with this! Along with
the SVG path to render, these functions also return the x and y coordinates
of the path’s midpoint. We can then use these coordinates to translate our custom
edge label’s into the right position!
export default function CustomEdge({ id, sourceX, sourceY, targetX, targetY }) {
  const { deleteElements } = useReactFlow();
  const [edgePath, labelX, labelY] = getStraightPath({ ... });

  return (
    ...
        <button
          style={{
            position: 'absolute',
            transform: `translate(-50%, -50%) translate(${labelX}px, ${labelY}px)`,
            pointerEvents: 'all',
          }}
          className="nodrag nopan"
          onClick={() => deleteElements({ edges: [{ id }] })}
        >
    ...
  );
}
To make sure our edge labels are interactive and not just for presentation, it
is important to add pointer-events: all to the label’s style. This will ensure
that the label is clickable.
And just like with interactive controls in custom nodes, we need to remember
to add the nodrag and nopan classes to the label to stop mouse events from
controlling the canvas.
Here’s an interactive example with our updated custom edge. Clicking the delete button will remove that edge from the flow. Creating a new edge will use the custom node.